How to Install an eSIM on iPhone and Android (2026 Step-by-Step Guide)
How to install an eSIM is one of the most common questions before a first trip with a travel eSIM, and the good news is that it takes about five minutes. You need an unlocked phone that supports eSIM, a WiFi connection and the QR code or app from your provider. This guide shows you how to install an eSIM on iPhone, Samsung and Google Pixel, and how to switch it on when you land.
The steps work for travel eSIMs from Saily, Holafly and most other providers. Read the short checklist first, because two minutes of preparation prevents most installation problems.
Before You Install an eSIM: Quick Checklist
- Your phone supports eSIM. Most iPhones from the XS and XR onward, most Samsung Galaxy phones from the S20 onward and most Google Pixel phones from the Pixel 4 onward support eSIM.
- Your phone is unlocked. A phone locked to your home network may refuse a travel eSIM.
- You are on stable WiFi. The eSIM profile downloads over the internet.
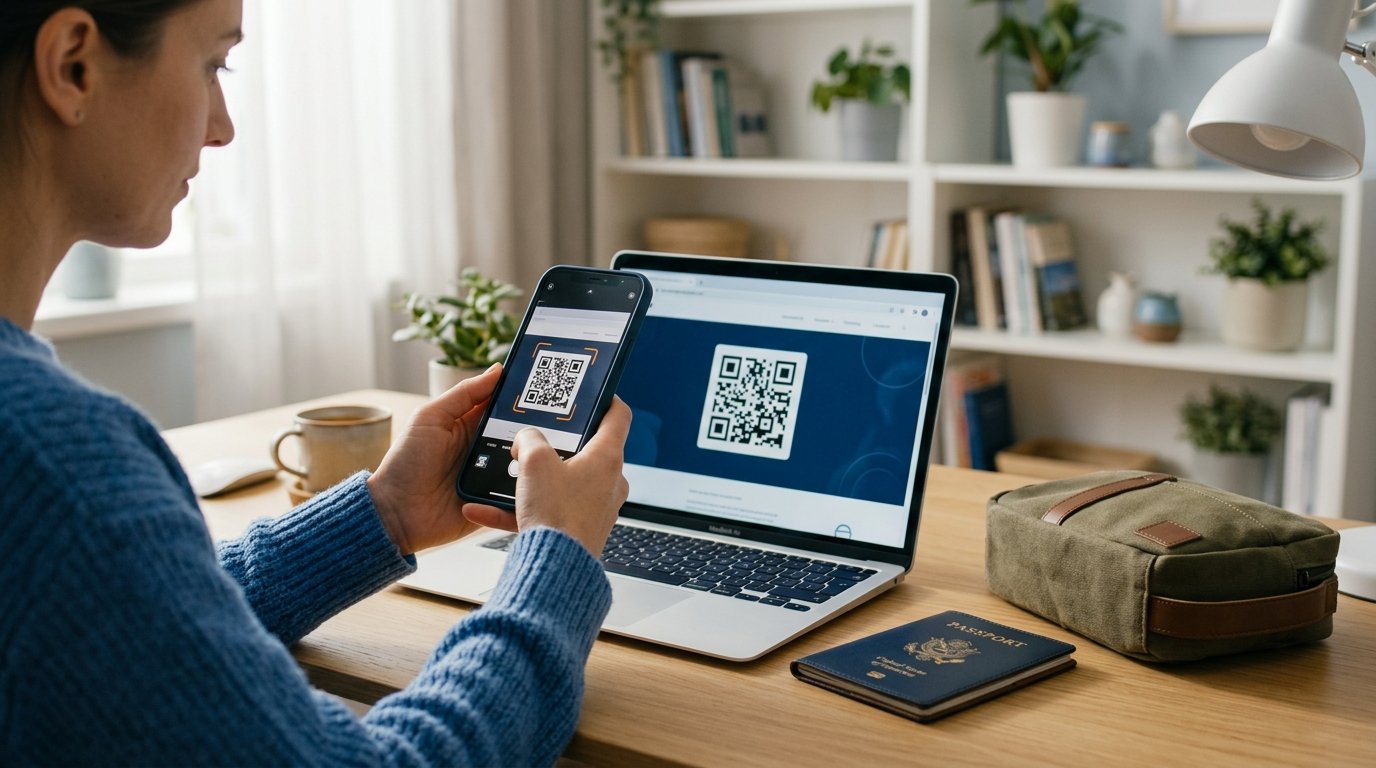
- You have the QR code or the provider app. Keep the QR code on a second screen or printed, because you cannot scan a code on the same phone you are installing on.
A quick way to confirm eSIM support is to dial *#06#. If your phone shows an EID number, it has an eSIM chip.
How to Install an eSIM on iPhone
There are three ways to install an eSIM on iPhone. The app method is the easiest, and the QR code method works with almost every provider.
Method 1: Install Through the Provider App
Many travel eSIM apps, including Saily and Holafly, can install the eSIM directly. Buy your plan in the app, tap the install button and follow the prompts that iOS shows on screen.
The iPhone asks you to confirm the new plan, choose a label and decide which line to use for data. The whole process usually takes under two minutes.
Method 2: Scan the QR Code
Open Settings, then Mobile Data (Cellular in the US), and tap Add eSIM. Choose Use QR Code and point the camera at the code from your provider’s email or app.
Follow the prompts to activate the plan. When iOS asks you to label it, choose something clear such as Travel Data.
Method 3: Enter the Details Manually
If the QR code will not scan, tap Add eSIM, then Use QR Code, then Enter Details Manually. Type in the SM-DP+ address and activation code from your provider.
These details are usually listed under the QR code in your installation email. Copy them carefully, because one wrong character stops the installation.
iPhone Settings to Check After Installing
Set your UK or home line as the default for calls, iMessage and FaceTime, so friends and banks still reach your normal number. Set the travel eSIM as the line for mobile data.
Leave data roaming off on the travel eSIM until you arrive. Turn off Allow Mobile Data Switching if you want to be sure your home SIM never uses data abroad.
How to Install an eSIM on Samsung Galaxy
Open Settings, then Connections, then SIM Manager, and tap Add eSIM. Choose Scan QR Code from Service Provider and scan the code from your provider.
If your provider gives you an app, you can usually install from the app instead. Once the eSIM appears in SIM Manager, rename it to something clear such as Travel Data.
In SIM Manager, set your home SIM for calls and texts and the travel eSIM for mobile data. Turn on roaming for the travel eSIM only after you land.
How to Install an eSIM on Google Pixel
Open Settings, then Network and Internet, then SIMs, and tap Add SIM or the plus button. Choose to download a SIM instead, then scan the QR code from your provider.
Follow the prompts to finish the download and name the eSIM. Google’s Pixel Phone Help pages have screenshots if your menus look different.
Set the travel eSIM as your mobile data SIM in the SIMs menu, and keep your home SIM for calls and texts.
Saily for short trips, Holafly for unlimited data on longer stays
How to Install an eSIM on Other Android Phones
Xiaomi, OnePlus, Motorola and other Android brands follow the same basic steps, but the menu names differ. Look for SIM cards, Mobile network or SIM manager in Settings, then an option such as Add eSIM or Download a SIM.
If you cannot find it, type eSIM into the Settings search bar. Some budget Android phones and models sold in certain regions do not support eSIM at all, so check the EID with *#06# first.
Knowing how to install an eSIM on one Android phone usually means you can do it on any other. The QR code, the activation code and the final data settings are the same everywhere.
How to Install an eSIM for a Multi-Country Trip
If your trip covers several countries, a regional plan saves you from installing a new eSIM at every border. Saily’s Europe plan covers 35 countries including Turkey, and Holafly’s Europe plan covers more than 30.
You install a regional eSIM exactly the same way as a single-country plan. Once it is set up, the eSIM switches to a partner network automatically when you cross a border, as long as data roaming stays on for that line.
If you prefer separate plans, you can store several eSIMs on most phones and switch between them in settings. Learning how to install an eSIM once makes every later trip faster.
When to Install an eSIM Before Your Trip
Install your eSIM a day or two before you fly, while you still have home WiFi. That gives you time to contact support if anything goes wrong.
Many travel plans only start counting days when they first connect to a network in your destination. Some start on installation, so check your provider’s terms before installing weeks in advance.
Do not wait until the airport if you can avoid it. Airport WiFi can be slow or need a login, which makes the download harder.
How to Switch On Your eSIM When You Land
After landing, turn off airplane mode and open your mobile data settings. Select the travel eSIM as your data line and turn on data roaming for that line only.
Give the phone a minute to find a network. If you see signal but no internet, our guide to an eSIM not working abroad walks you through twelve fixes.
Keep data roaming off on your home SIM. That stops your UK network charging daily roaming fees, which our guide to UK roaming charges explains in detail.
How to Install an eSIM Without Making Common Mistakes
Do not scan the QR code twice on different phones. Most travel eSIM codes work only once. If you scan it on the wrong phone, contact support for a new code.
Do not delete the eSIM after your trip until the plan has ended. Many travel eSIMs cannot be reinstalled once removed, and some providers let you top up the same eSIM for your next trip.
Do not assume you can transfer it. Moving a travel eSIM to a new phone is not always possible. If you change phones, check with your provider first.
Can You Keep Your UK Number After Installing an eSIM?
Yes. Most modern phones run two lines at once, so your UK SIM stays active for calls and texts while the eSIM handles data. This is how most travellers keep receiving bank security codes abroad.
Some phones can store several eSIMs but only run two lines at the same time. Our guide to keeping your UK number abroad explains the best setup.
Which Travel eSIM Is Easiest to Install?
Saily installs inside its app in a few taps and suits short trips and light data use. It is built by Nord Security, the company behind NordVPN, and includes an ad blocker and web protection.
Holafly also offers app installation and includes unlimited data on every plan. Its 24/7 support by live chat and WhatsApp helps if you get stuck during setup.
Our Saily eSIM review and Holafly review compare both in detail. For destination picks, see the best eSIM for Europe and the best eSIM for Thailand.
Protect Your Connection After You Install an eSIM
A travel eSIM is safer than open public WiFi, but it gives you a foreign IP address. UK banking apps and streaming services such as BBC iPlayer may block or flag that connection.
A VPN with UK servers solves both problems on eSIM data and hotel WiFi. NordVPN pairs naturally with Saily, and Proton VPN is a strong privacy-first alternative. Apple’s iPhone support pages also cover eSIM and dual-SIM settings in detail.
Summary: How to Install an eSIM in Five Minutes
Check that your phone supports eSIM and is unlocked, connect to WiFi, and install through the provider app or QR code. Set the eSIM as your data line, keep your home SIM for calls, and turn on roaming for the eSIM when you land.
That is everything you need to know about how to install an eSIM for your next trip. Choose Saily for short trips and Holafly for unlimited data on long stays.
How do I install an eSIM on my phone?
To install an eSIM, connect to WiFi and either tap install in your provider’s app or scan the QR code under Mobile Data or SIM settings. Then set the eSIM as your data line.
How do I know if my phone supports eSIM?
Dial *#06#. If your phone shows an EID number, it supports eSIM. Most iPhones from the XS onward and recent Samsung and Pixel phones do.
Can I install an eSIM before I travel?
Yes, and you should. Install it a day or two before you fly, and check whether your plan starts on installation or on first connection abroad.
Can I use the same eSIM QR code twice?
Usually not. Most travel eSIM QR codes work only once, so contact your provider if you need to reinstall.
Will installing an eSIM remove my UK SIM?
No. Your UK SIM stays in the phone and keeps working for calls and texts. The eSIM is added as a second line.
Related Guides
- Best eSIM for Expats
- eSIM Not Working Abroad
- UK Roaming Charges Compared
- Keep UK Number Abroad
- Saily eSIM Review
- Holafly Review
- Best eSIM for Europe
Expat Essentials
Affiliate disclosure: Some links in this guide are affiliate links. If you purchase through them, we earn a small commission at no extra cost to you.